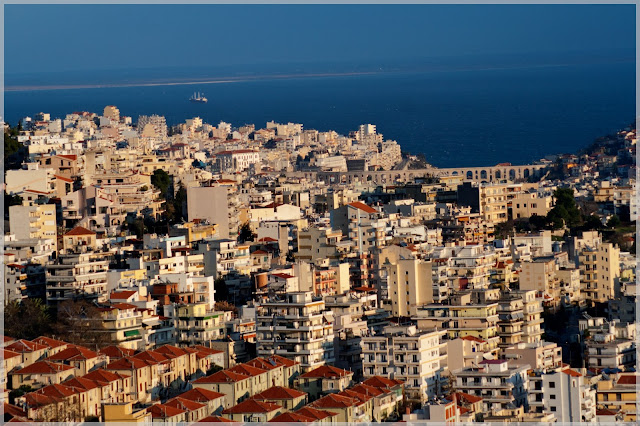
Finding new ideas to the blog can be a nightmare of any blogger, but finding nice shot to enhance is much better for me. Every picture I take, goes to its post- processing work. Sometimes it may take few hours to improve the quality of the image, nevermind I love do that..
In the next steps I`ll illustrate simple technics that I use permanently and that gives good result:
Step1
Open the photo into Photoshop. Select Crop Tool to get rid of all unnecessаry:
Step2
Even an orange it needs some skin - retouch :)
Create a Duplicate layer, select Spot Healing Brush tool with proper size to remove any imperfections :
Step 3
Let`s sharpen the image. Hit Cntr+Shift+Alt+E. Copy this Layer1 by hitting Cntr+J. Hide the Copy Layer by clicking the eye icon on the layers palette.Then select the original Layer under it, go to Filter/ Other/ High Pass. Set the radius around 2 pixels and change the Blending Mode to Vivid Light.
Step 4
Now the details are sharpened but this also affects the whole image so lets add mask and smooth areas where sharpness is undesired. Add Layer Mask by pressing the icon on Layers Palette. Take soft black brush and smooth any area out of focus:
Step5
Activate Layer1 Copy by clicking the eye icon again. Create new layer Shift+Cntr+N. Take a brush with bright color and paint.
Change the Blending Mode to Soft Light, opacity around 40%. This step can be applied to enhancing colors on any object.
Step6
Let`s improve the image quality. Make the Background copy active layer, by clicking on it. Select Image/Adjustment/ Hue and Saturation: move sliders a little bit until desired result. Press OK.
Step 7
Image/ Adjustment/ Levels:
delisious


